Usage in default license
The Convenient Comments app comprises various features, including a comment editor, factboxes, a “Comments Exist” field added to various pages. This chapter further discusses each of these features in more detail with supporting examples. Comment Editor
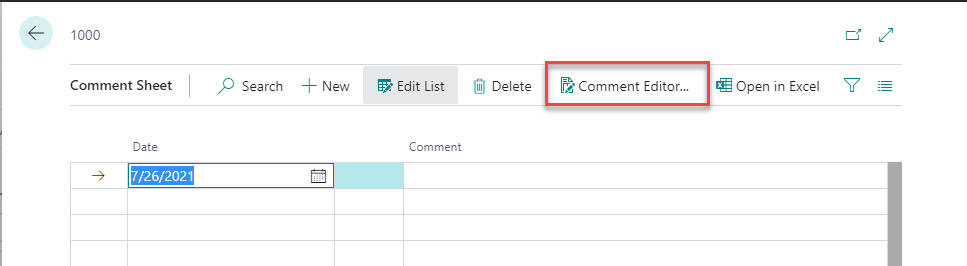
Open the Comment Editor form within the Comment Sheet.
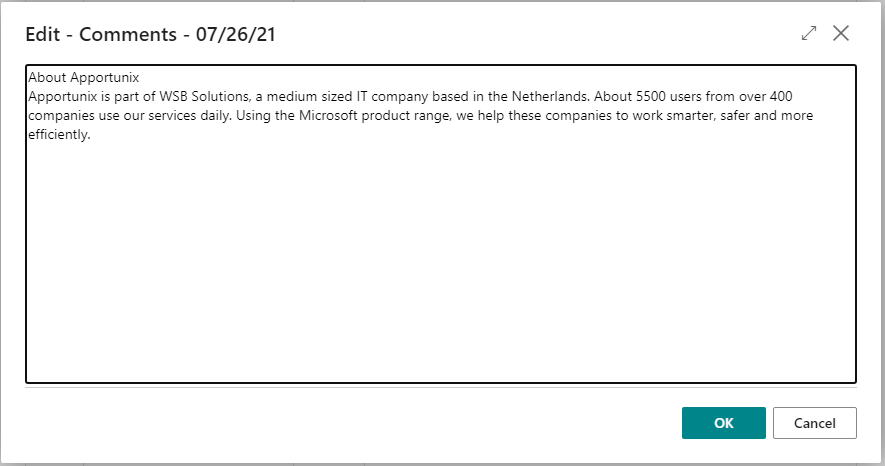
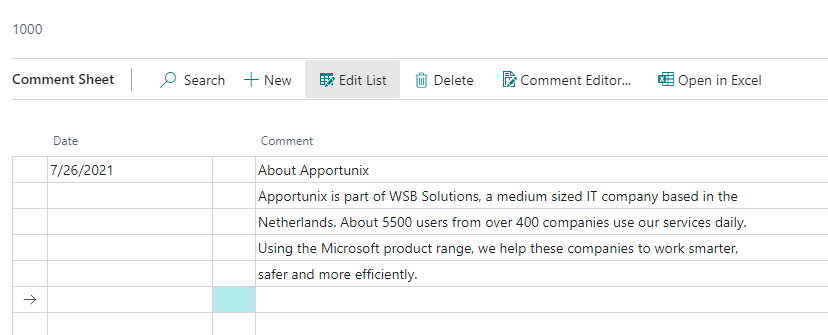
You can enter any free text in the editor or copy and paste from any other location. After choosing OK and closing the editor the text will be imported in the comment and automatically split between the lines.
Note: when you create multi-line comments by using the editor, the editor will group the comments by date and “code”. Therefore, it will be required to have a date in the block of comments when you start the editor.
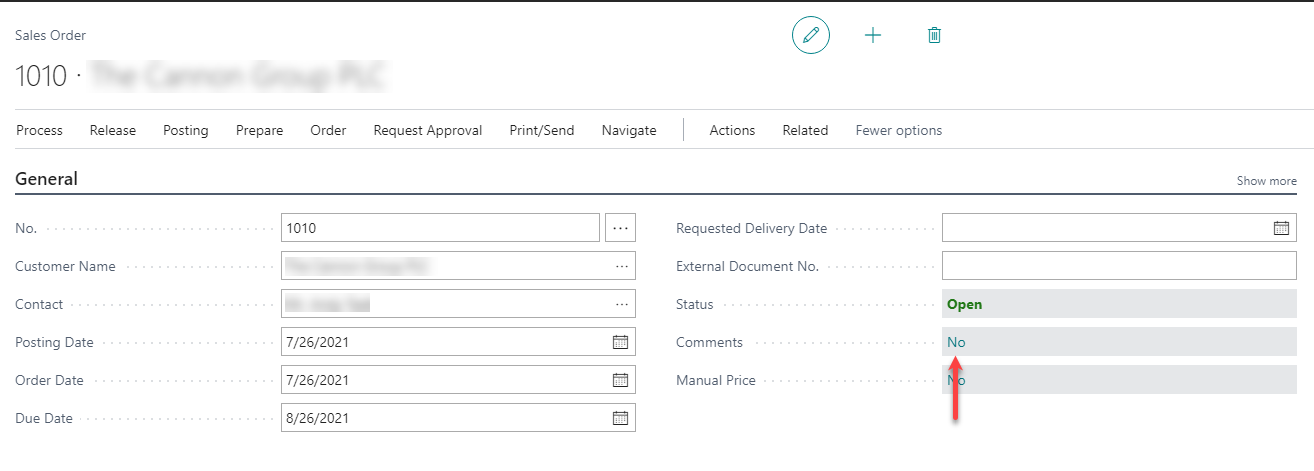
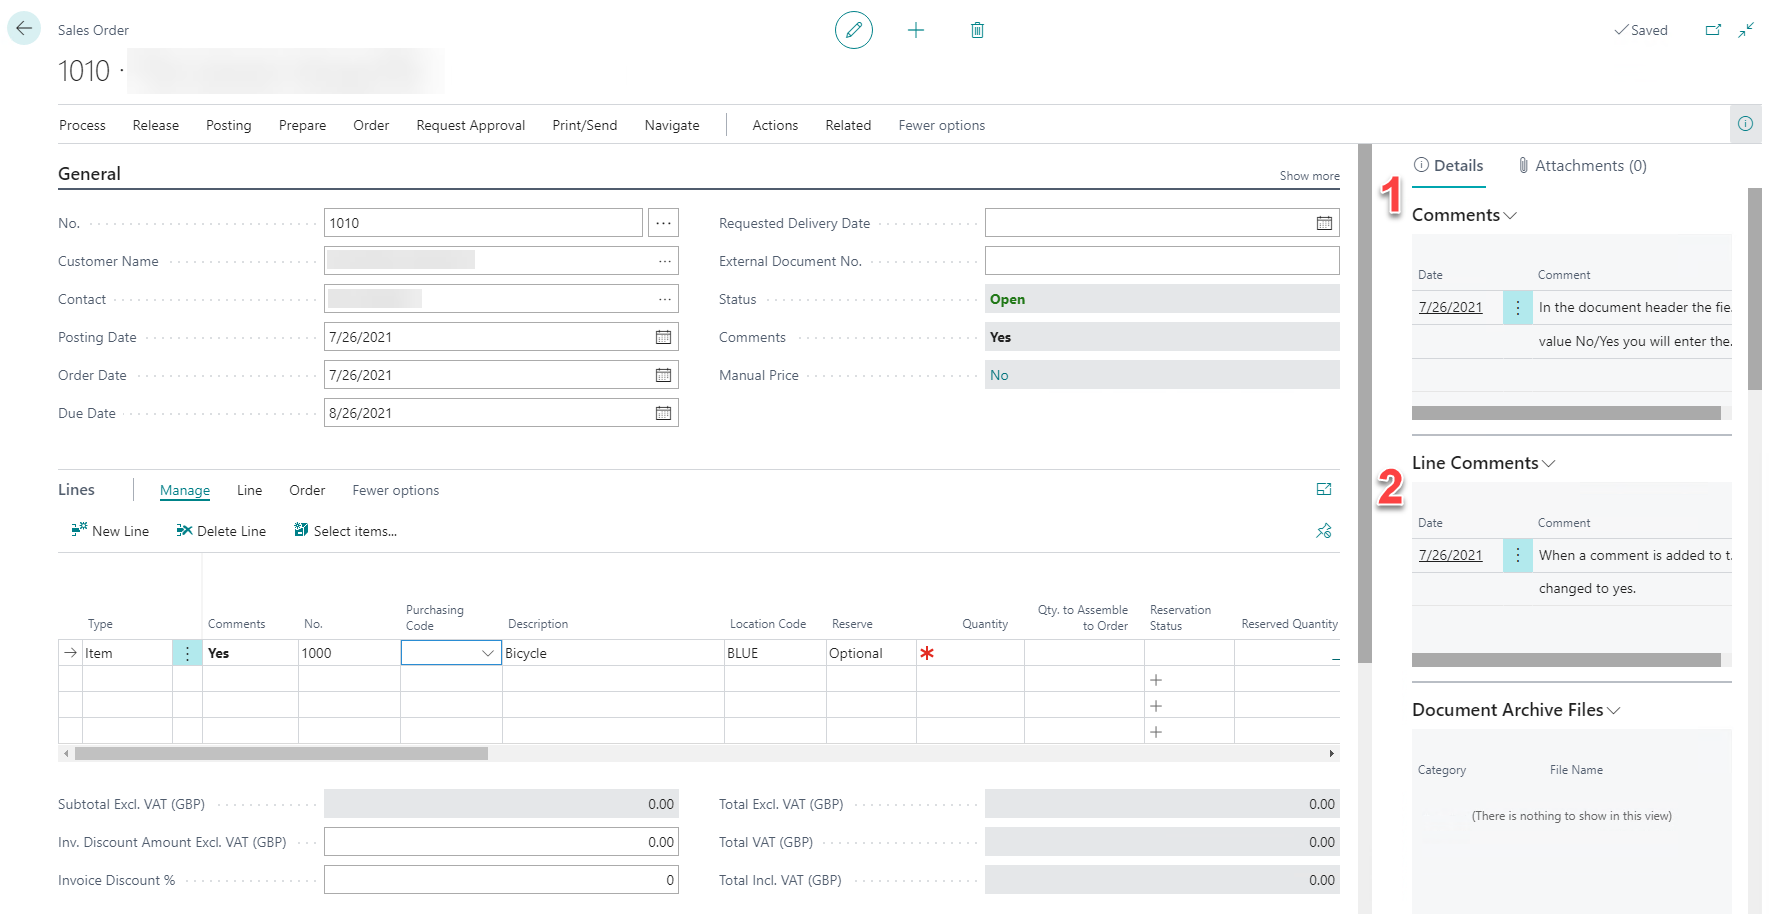
Comment on Document Header
In the document header the field Comments is added. By clicking on the field value No/Yes you will enter the Comment Sheet.
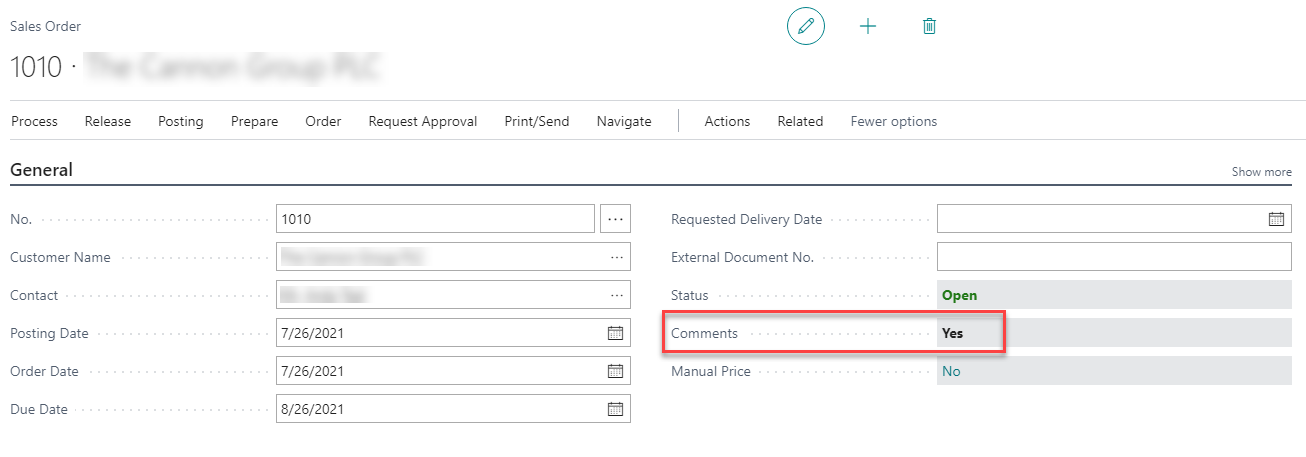
When a comment is added to the document header the value of the field will be changed to ”Yes”.
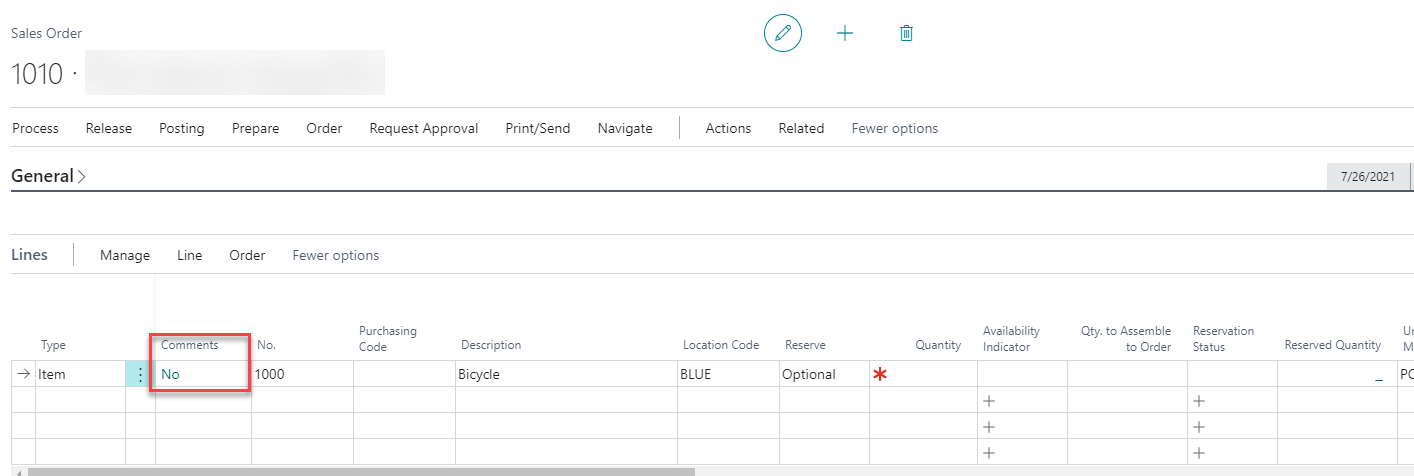
Comment on Document Line
In the document line the field Comments is added. By clicking on the field value No/Yes you will enter the Comment Sheet.
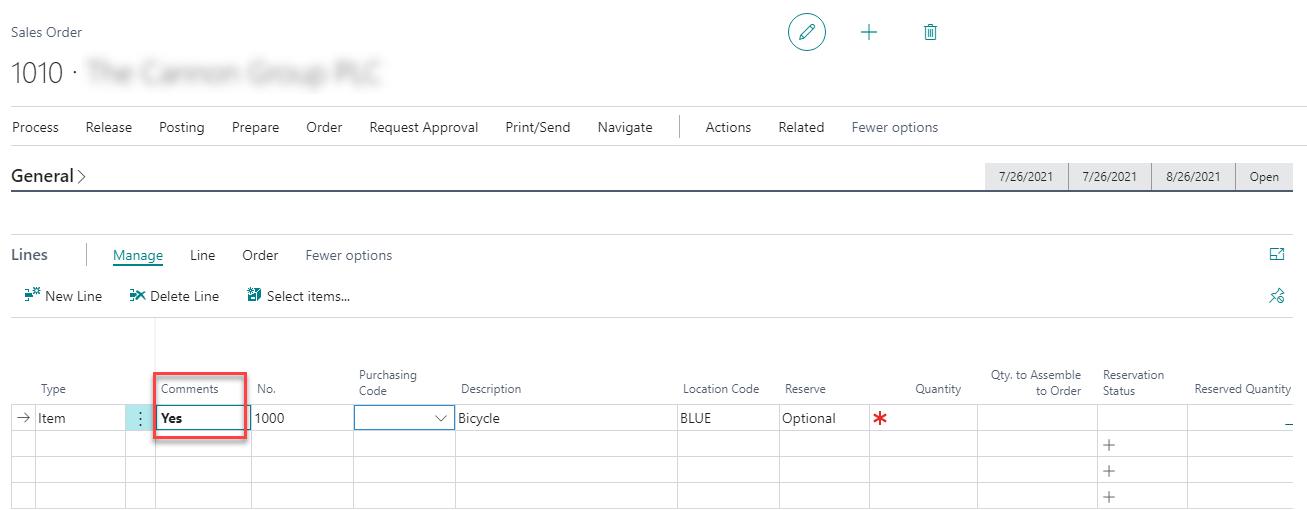
When a comment is added to the document line the value of the field will be changed to ”Yes”.
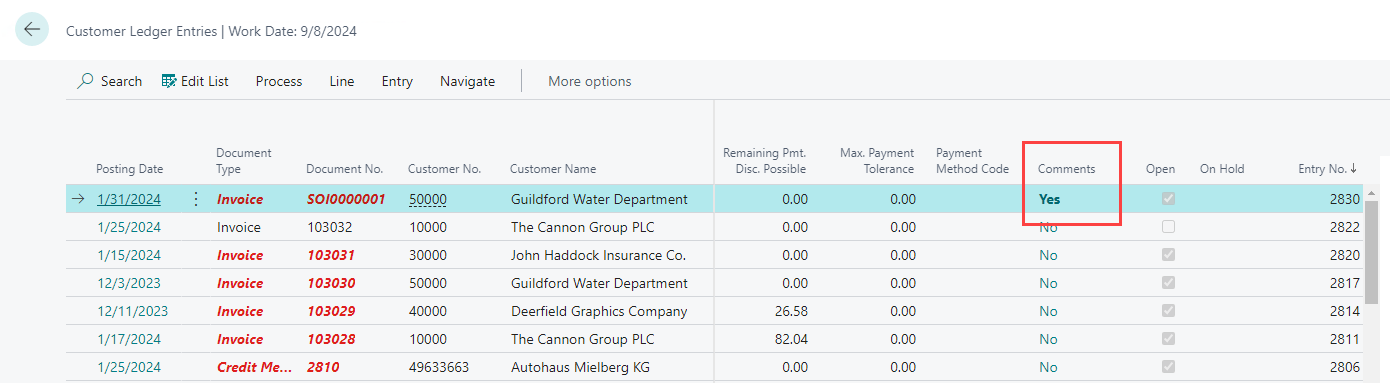
Comment on Customer and Vendor ledger entries
In the ledger entry line the field Comments is added. By clicking on the field value No/Yes you will enter the Comment Sheet. It works exactly like in the Document Line.
Comment FactBoxes
Convenient Comments adds factboxes on pages throughout all of Business Central. For example, on the Sales Order page the app even adds two factboxes to the page.
-
Contains the header comments
-
Contains the line comments
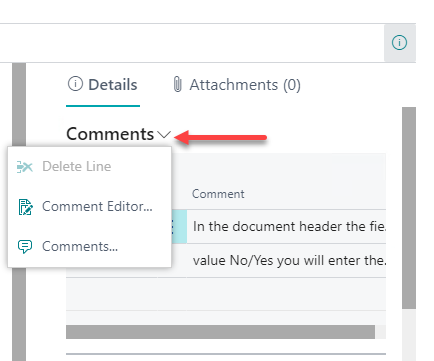
Each of the factboxes also contain two actions (N.B. you can view the actions by opening the drop-down list on factbox) which allow you to open the Comment Editor or Comment Sheet.
Special Comments
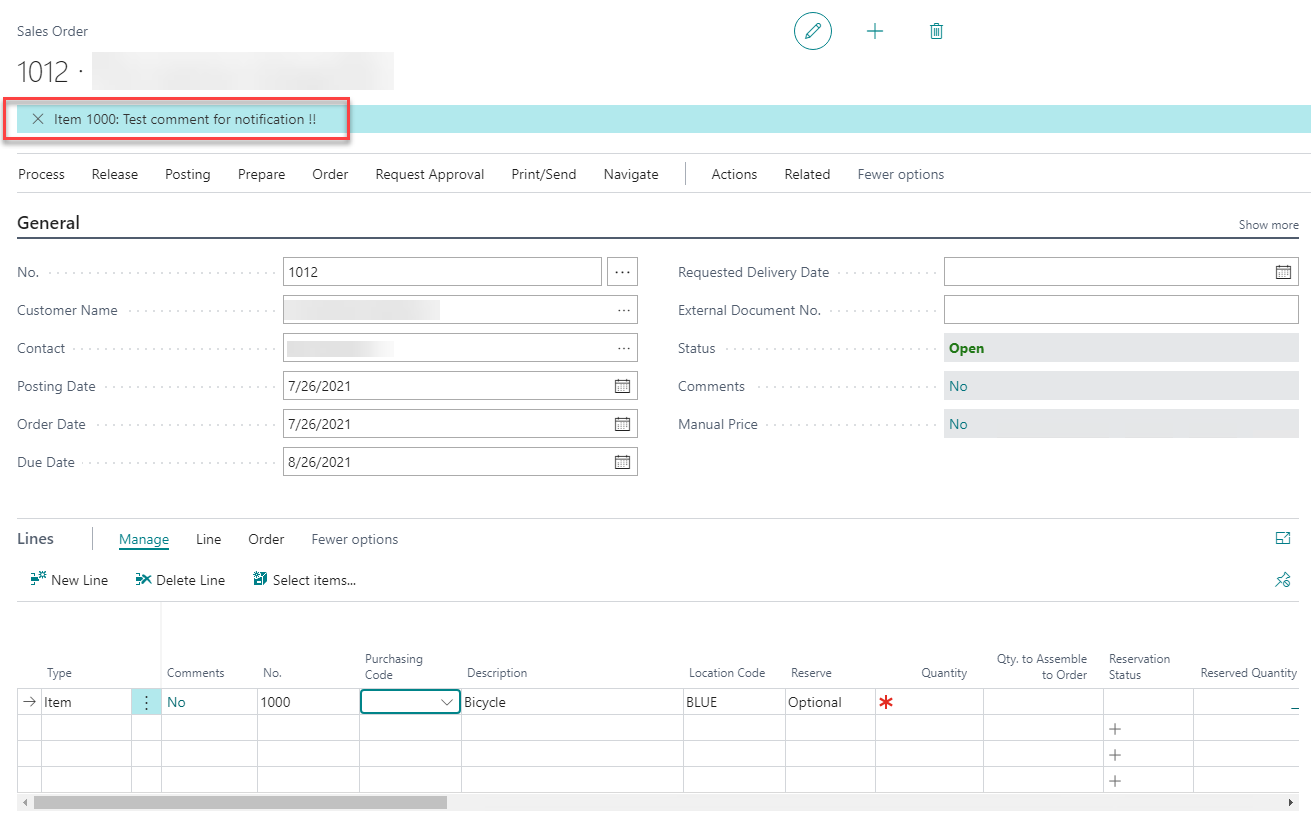
On the item, service item, customer and vendor card the extra field Special Comment is added. The text that is added in this field will be shown as notification when the particular item is used in a sales, purchase or service document in your Business Central environment.
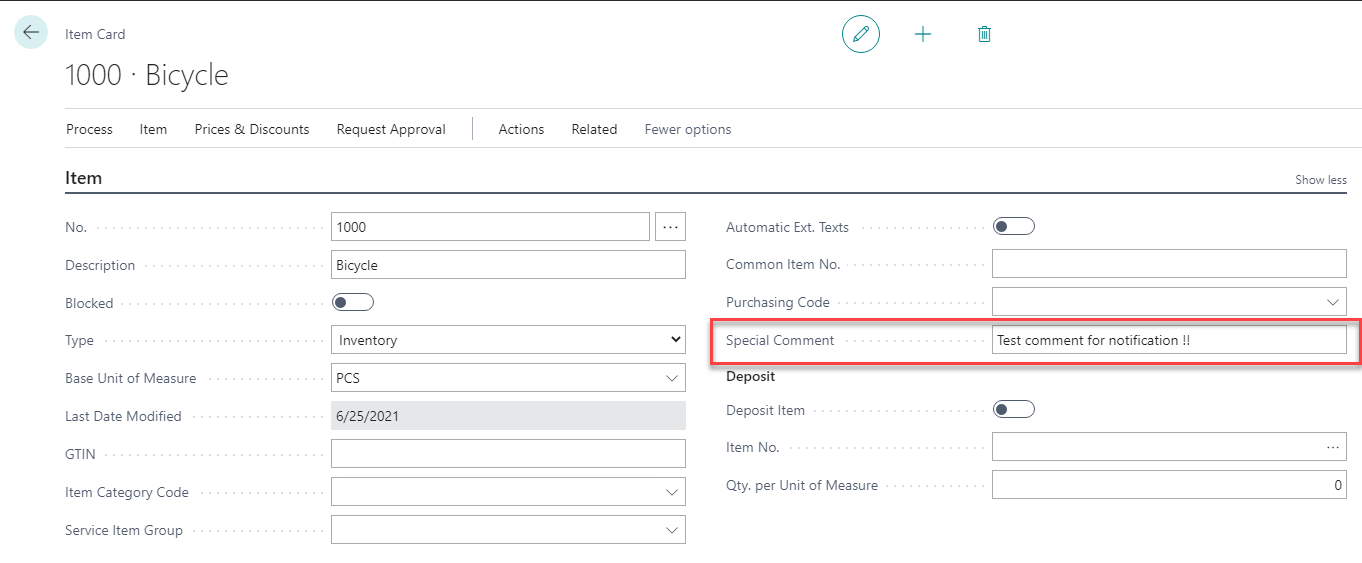
The notification will be shown when adding the item to a document.
Transfer Comments from Master Data to Documents
In the setting you can define whether you want to transfer comments that are added on the master data to the documents:
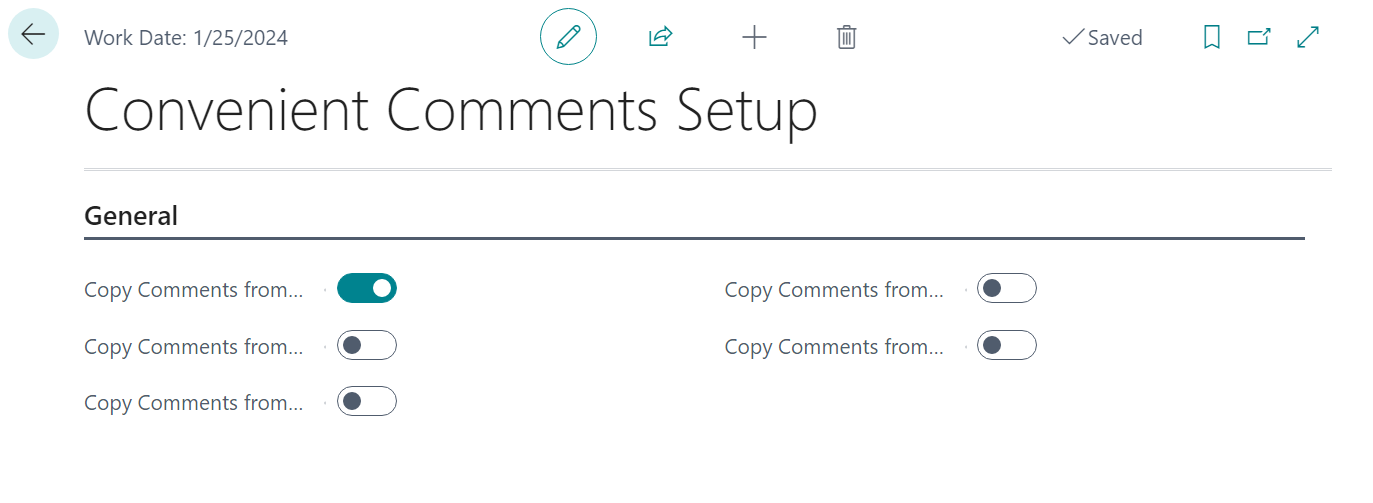
You can define this for the following master data:
- Customers
- Vendors
- Items
- Resources
- G/L accounts
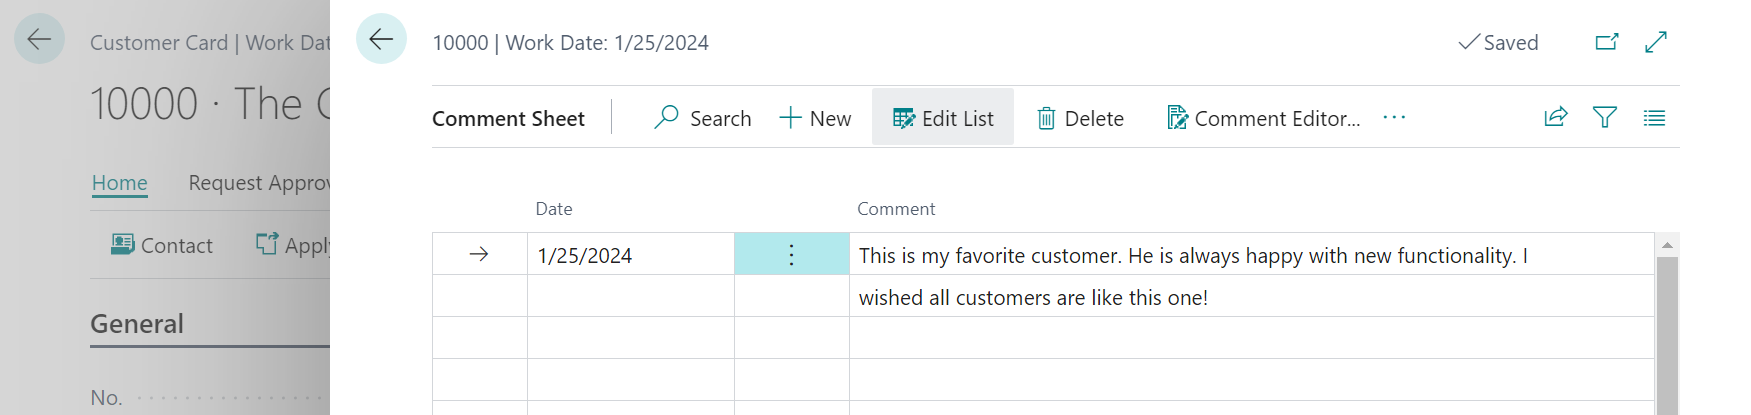
For customer- and vendor comments, the comments will be transferred to the header of the document. For instance:
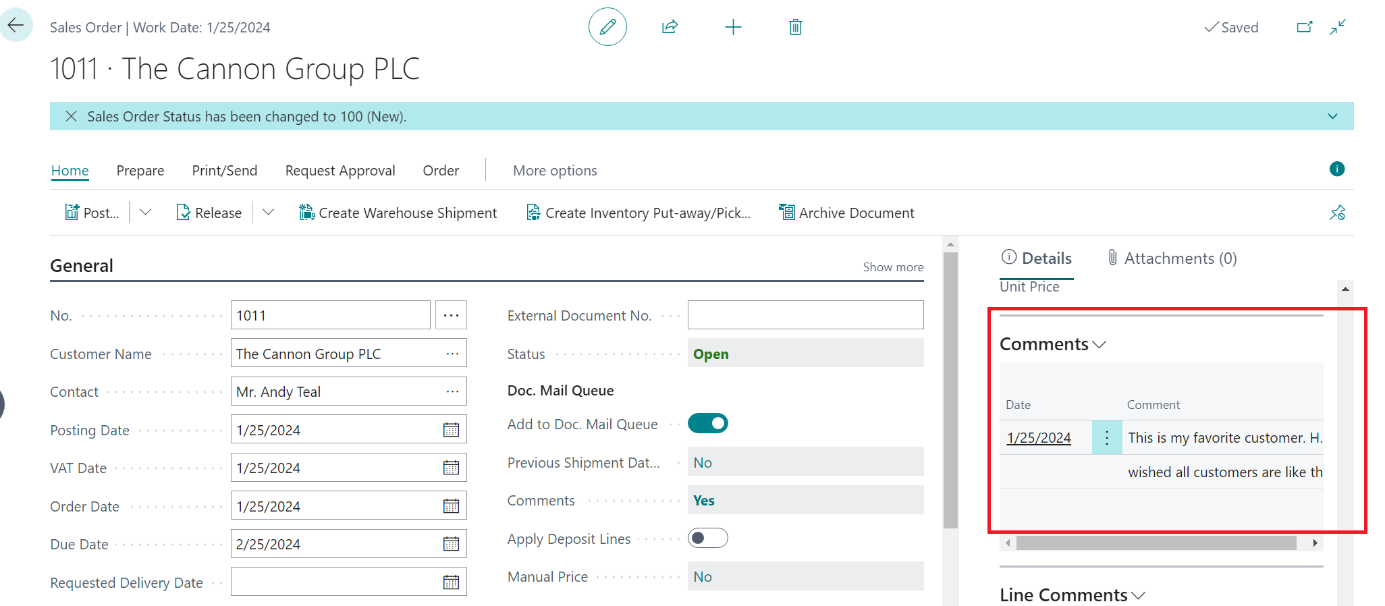
When you create an order for this customer with the setting above, the comment will be transferred to the sales order:
The following transfer functionality is implemented (for each respective setting):
When the setting is Yes, the comment lines of the Item are copied to:
- Sales Lines
- Purchase Lines
- Assembly Lines / Assembly Header (depending on where the item is used)
- Production Header / Line, BOM line ((depending on where the item is used)
- Service Lines
- Job Planning Lines
When the setting is Yes, the comment lines of the Resource are copied to:
- Sales Lines
- Purchase Lines
- Assembly Lines
- Service Lines
- Job Planning Lines
When the setting is Yes, the comment lines of the Customer are copied to:
- Sales Header
- Service Header
- Job
When the setting is Yes, the comment lines of the Vendor are copied to:
- Purchase Lines
When the setting is Yes, the comment lines of the G/L account are copied to:
- Sales Lines
- Purchase Lines
- Service Lines
- Job Planning Lines
Print comments on your layouts
A public procedure has been added to the app, that you can use to retrieve the comments for a certain record: WSB_CommentMgt.wgFncGetAllCommentsAsText . This function will return all the commentline records that are related to the specified record as a single text. By using this procedure (instead of getting all the records themselves), you do not have to worry about concatenating the texts in the comment records, so you will have nice formatted text that you can print on you report.
Usage in Convenient Comments Pro License
Do you want to control in which layouts your comment lines are shown? Then you have to upgrade the app to the “Pro” license. You can always try it first for free in a sandbox environment!
Manage Document Control in combination with Apportunix Document Creator
With Convenient you can control on which layouts you want to show the comments you have entered. This works seamless and out-of-the-box when you are using Document Creator. You can set it up through the Convenient Comments settings. In the settings page you can navigate to “ Document Groups”. This will open the following page:
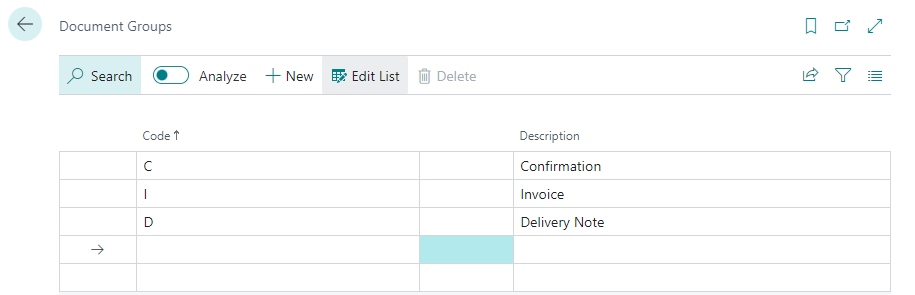
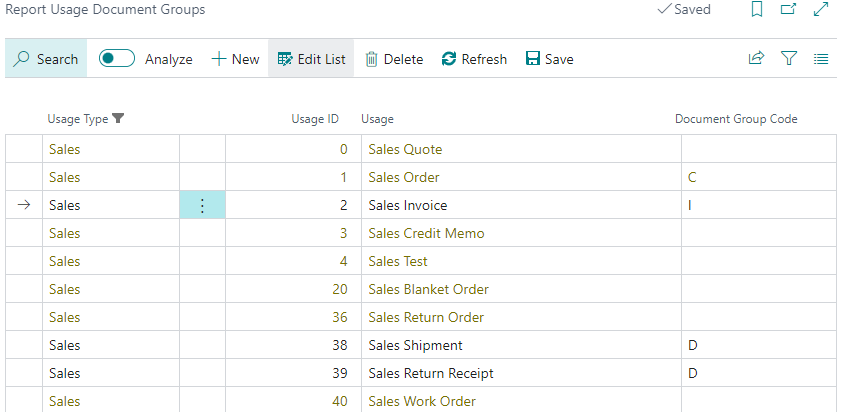
The code has to be a one-character code. As shown above, you can define a code for each type of layout where you want to display the comment lines on. The following step is to define which code corresponds to which layout. For this, go to Convenient Comments Setup and navigate to “Usage Documents Group”. Here you could use for instance the following setup:
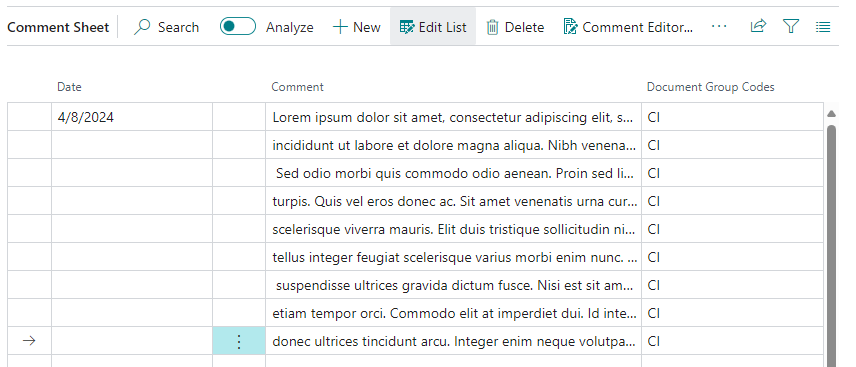
When you enter commentlines, you can select on which documents the comment lines should be shown. You can do this by clicking on the visual assist button in the “Document Group Codes” field:
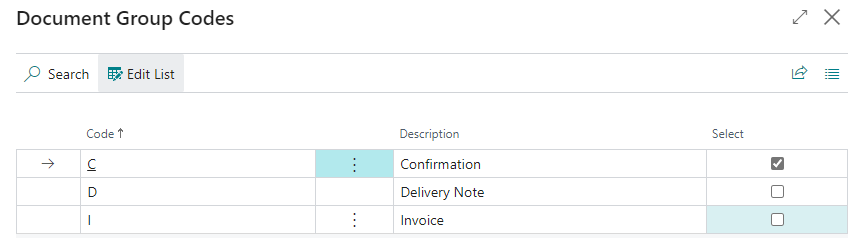
Note that you can select multiple codes in this page. For instance, when you want the comments visible on the Order Confirmation and on the Invoice, but not on the Delivery Note, you can select both the C and the I:
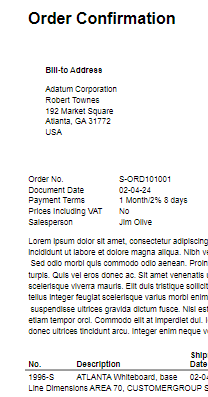
When you now print the Confirmation, the comments will be shown:
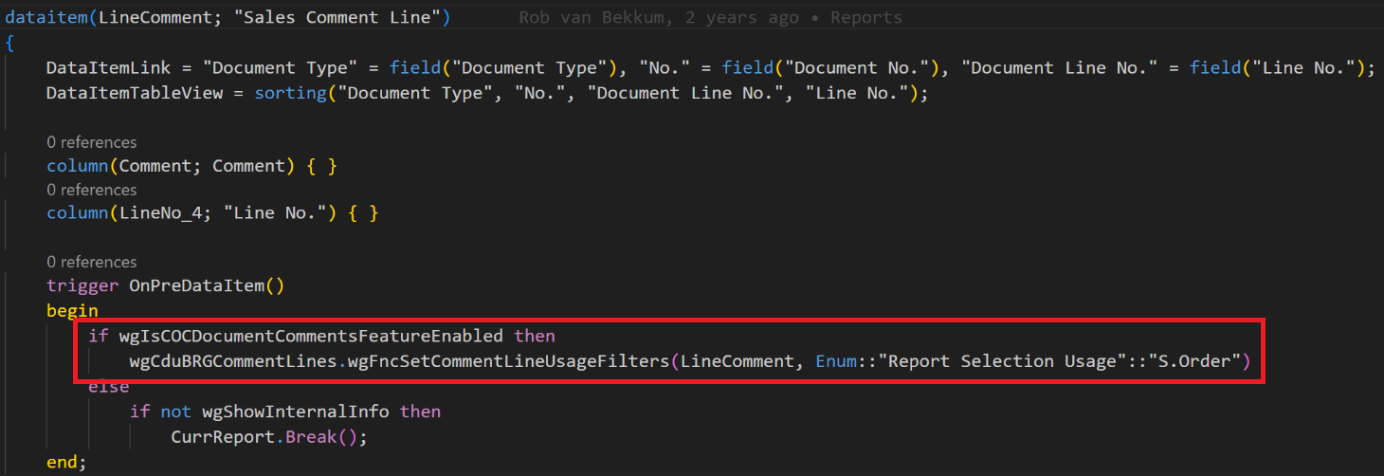
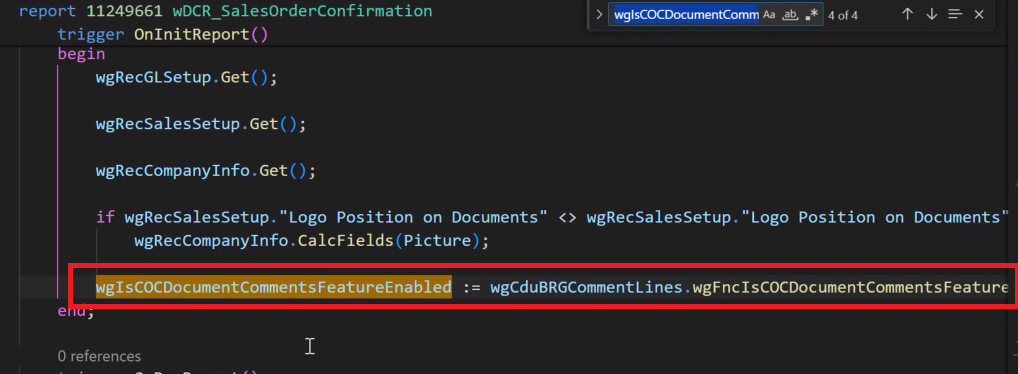
This functionality is integrated on all Document Creator layouts that have Comment Lines in the dataset. Document Control when not using Apportunix Document Creator In most standard Microsoft layouts, the Comment Lines are not part of the dataset. Whenever you have extended these datasets, or created your layouts, you can still use the Document Control functionality of the app, but you will have to create an extension with a dependency on the Convenient Comments app and include the following code:
On the “OnInitReport”:
On the dataitem: